How to Change a Flat Tire on Your Bike
Don’t yet know how to replace a tube? Don’t worry—it’s one of the most useful cycling skills you can learn, and the basics are surprisingly simple.
As with conditioning, a small investment in tools and know-how is part of cycling proficiency. Knowing how to handle a flat tire gives you greater confidence and independence on the road, whether you’re riding close to home or exploring somewhere new.
Your local bike shop, a willing cycling friend, or a simple video tutorial can help you learn the process. Better yet, practice changing a tube at home once or twice before you need to do it on the side of the road. A little practice goes a long way.
What You Should Carry
Every cyclist should have a few basic items for dealing with a flat:
- A spare inner tube of the correct size
- Tire levers
- A small hand pump or CO₂ inflator
- A patch kit as a backup
- A compact multi-tool
Even if your bike uses tubeless tires, carrying a compatible spare tube is a good idea. A tube can often get you rolling again when a puncture is too large for sealant to repair.
Before You Start: Get Off the Road
If you have a flat or mechanical issue during a ride, move to a safe place before stopping. Do not stand in the roadway or attempt to make repairs where passing cyclists or vehicles could put you at risk.
Find a driveway, turnout, sidewalk, parking area, or another safe location away from traffic. Your first priority should always be getting yourself—and your bike—completely out of harm’s way.
Step 1: Remove the Wheel
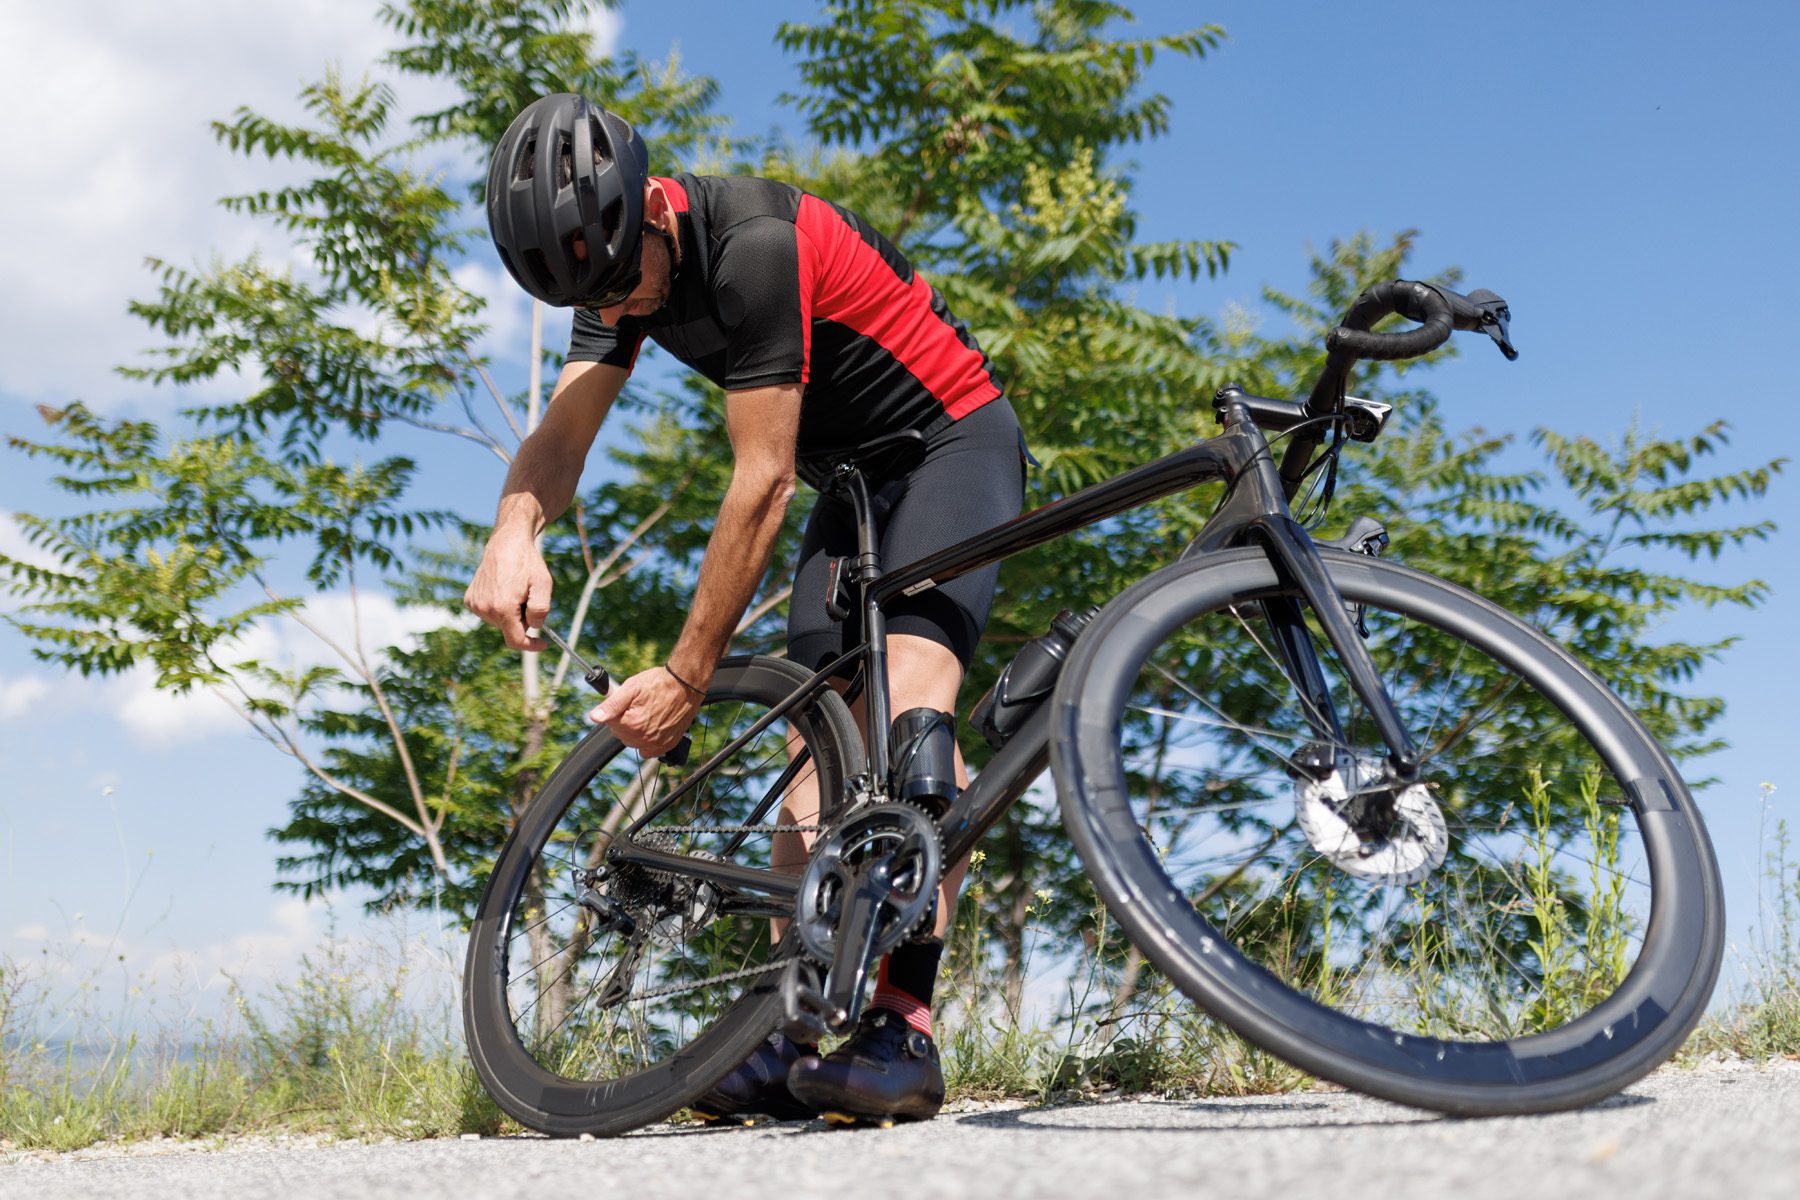
If the flat is on the rear wheel, shift your chain onto the smallest rear cog before removing the wheel. This reduces tension on the drivetrain and makes removing and reinstalling the wheel considerably easier.
Release the brake if necessary, open the quick-release lever or remove the thru-axle, and carefully remove the wheel from the bike.
Step 2: Remove the Tire and Tube
Completely deflate the tube if any air remains.
Starting on the side of the tire opposite the valve, use a tire lever to lift one edge—or “bead”—of the tire over the rim. Work your way around the wheel until one side of the tire is free.
Remove the old tube, beginning opposite the valve and removing the valve from the rim last.
Step 3: Find What Caused the Flat
Before installing your new tube, determine what caused the puncture whenever possible.
Carefully inspect the outside and inside of the tire for glass, thorns, wire, sharp rocks, or other debris. Run your fingers cautiously along the inside of the tire—you don’t want to discover a piece of glass by cutting your finger.
Also inspect the rim and rim tape for anything that could have damaged the tube.
This step is important. If the offending object is still lodged in the tire, your brand-new tube may go flat almost immediately.
Step 4: Install the New Tube
Put a small amount of air into the replacement tube—just enough for it to hold its shape.
Insert the valve through the hole in the rim, then gently tuck the tube completely inside the tire.
Starting near the valve, begin working the tire bead back onto the rim with your hands. Continue around the wheel until the entire tire is seated.
Whenever possible, use your hands rather than tire levers for installation. A tire lever can accidentally pinch or puncture the new tube.
Before inflating, check both sides of the wheel to make sure the tube isn’t trapped between the tire and rim.
Step 5: Inflate and Inspect
Gradually inflate the tire to the appropriate pressure for your tire, wheel, bike, and riding conditions.
As you add air, look around both sides of the tire to make sure the bead is seated evenly in the rim. If anything looks uneven or the tire begins bulging in one area, stop inflating and correct it before continuing.
Step 6: Reinstall the Wheel
Place the wheel back onto the bike and secure the quick release or thru-axle properly.
For a rear wheel, guide the chain back onto the smallest cog as you reinstall it.
If you released the brakes, reconnect them. Spin the wheel to make sure it rotates freely and isn’t rubbing against the brake pads, frame, or fork.
Before riding away, double-check that the wheel is securely installed.
Practice Before You Need It
Your first attempt at changing a tube shouldn’t have to happen on the side of an unfamiliar road.
Practice at home, where there’s no pressure and you have access to additional tools if you need them. Remove a wheel, take out the tube, reinstall it, inflate the tire, and put the wheel back on the bike.
After doing it a couple of times, what initially seemed complicated becomes a straightforward part of cycling.
On a Santana Adventure
While Santana’s SOS vans are available for significant mechanical problems and other situations that prevent you from continuing your ride, cyclists should be prepared to repair their own flat tires along the route.
There’s also a very practical reason to learn: changing your own tube will almost always get you back on the road in a fraction of the time it would take to wait for assistance. An experienced cyclist can often replace a tube in just a few minutes and continue enjoying the ride.
Our routes can cover many miles of beautiful countryside, and the nearest SOS van may be assisting another cyclist or positioned elsewhere along the route. Knowing how to fix a simple flat means you don’t have to turn a minor interruption into a lengthy stop.
A flat tire doesn’t have to end your ride—or even slow you down for very long. With a spare tube, a few basic tools, and a little practice before your trip, you’ll have the skills and confidence to get rolling again.